We don’t have a crystal ball, but we can give you a glimpse into the future to see what your lists may look like on a later date.
This feature only works for age based lists. See list types here: Setting up Lists
How to turn on
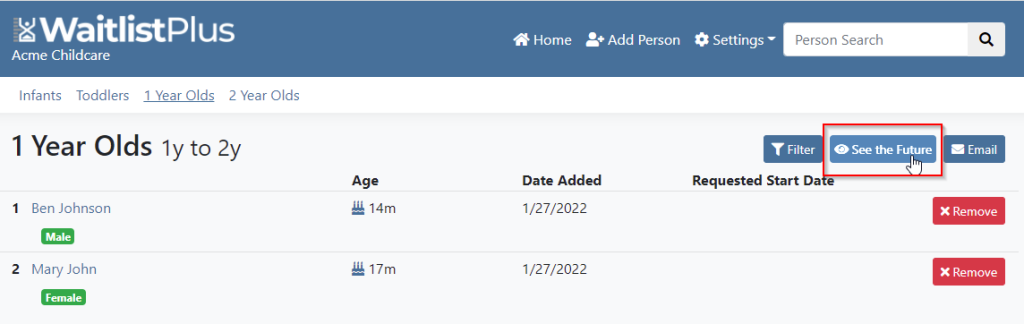
When viewing your list, click on the See the Future button near the top right of the page. This will pop up a calendar where you can choose a date in the future.
After selecting your date, the list will automatically move people around as if it were that date. Using the list above as a starting point, you can see below what happens when I choose a date 7 months in the future.
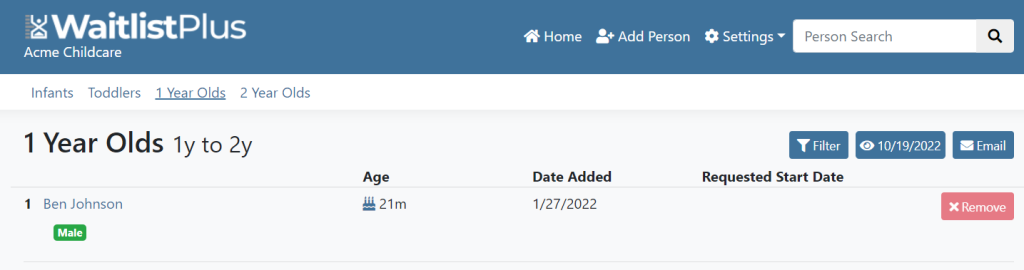
Mary has moved off the list because she is now 24 months old and too old for the 1 Year Old list.
Ben stays on this list, but you can see that is age has changed to 21 months.
Viewing other lists
See the future will stay on until you turn it off. If you click to view another list, your future date setting will persist. You’ll now be seeing that list as if it were the future as well.
How to turn off
To turn off See the Future click on the See the Future button which now has an eye icon and date. Then click Clear at the bottom of the calendar. This will turn off the feature for all lists.
An overview of the setup and use of some of our more advanced features including signup emails, waitlist reminder emails, our customer portal, and our customer signup form.
This video will go over the key settings that you need to get started using WaitlistPlus. We cover List setup, priorities, form fields and other basic settings.
If using Age or Birthdate based lists, age ranges must be unique across lists. This is required because for automatic placement to work, we need to identify a single list for someone in that age range. Fortunately there are a few options if you find this does not meet your needs.
Options
Use a single list for an age range(Recommended) – When a spot opens up in any of those classes, pull from the single waitlist.
Use Manual lists instead – If you have a significant need to see your lists split up by class, you can change them to “Manual” placement and just place and update the lists manually as they age.
Use a single list, with additional form fields – The single list will make sure they are automatically placed in and moved to the correct list as they age, but it will allow you to quickly find people who meet the criteria of the specific classes you have. More information on this option is below.
How to use a single list, with additional form fields
If you have multiple classes for a single age group and you want to quickly find children within a single list that meet the criteria of a specific classroom you can add form fields to your form, and filter your lists using those fields.
Step 1 – Create new form fields
Go to Settings > Site Settings > Form Fields
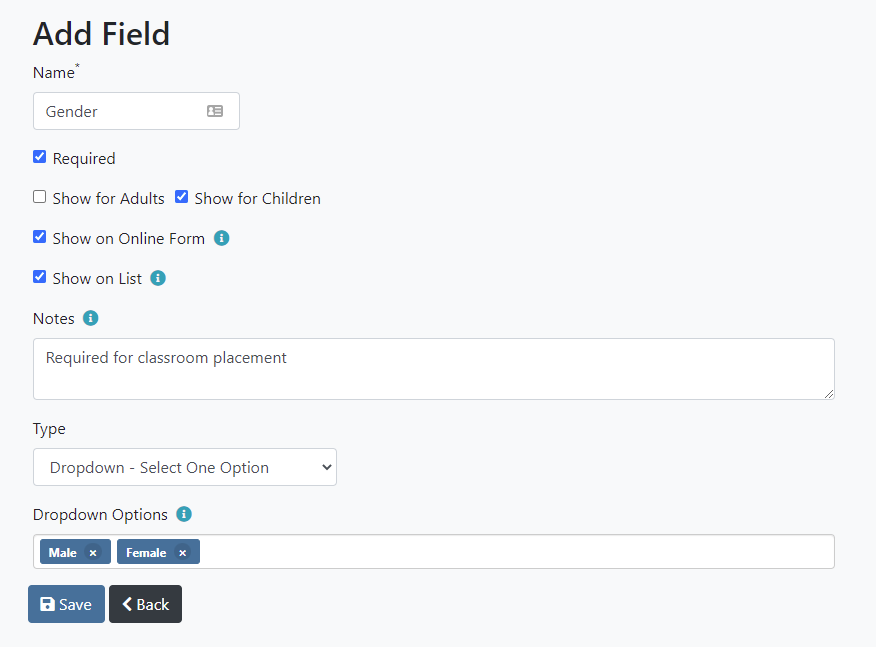
Click on the Add Field button.
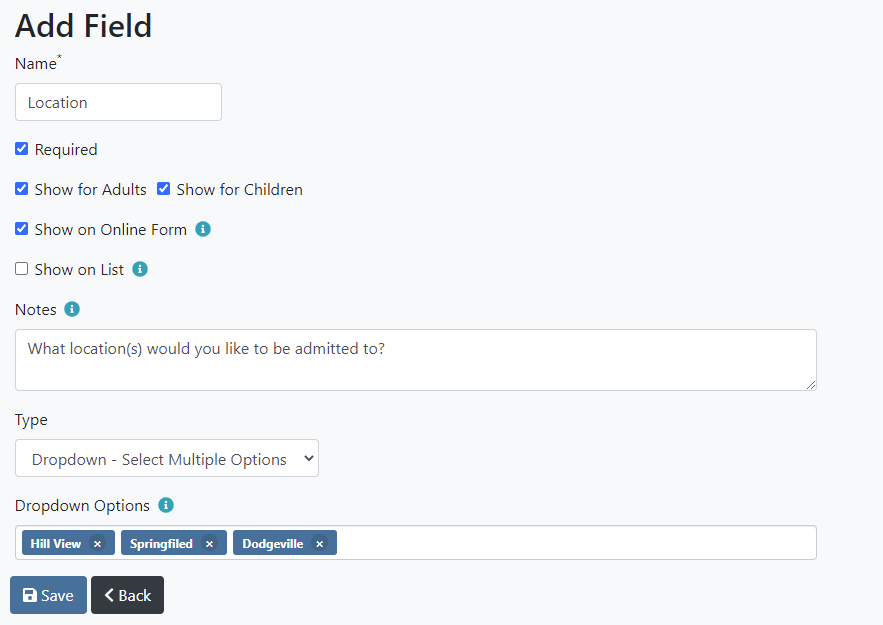
Fill out the options and click Save
Here is an example of a form field for Gender. Which may be one way you would split an age range into multiple classes. This concept applies to what ever you would use to split the classes.
Step 2 – Collect information
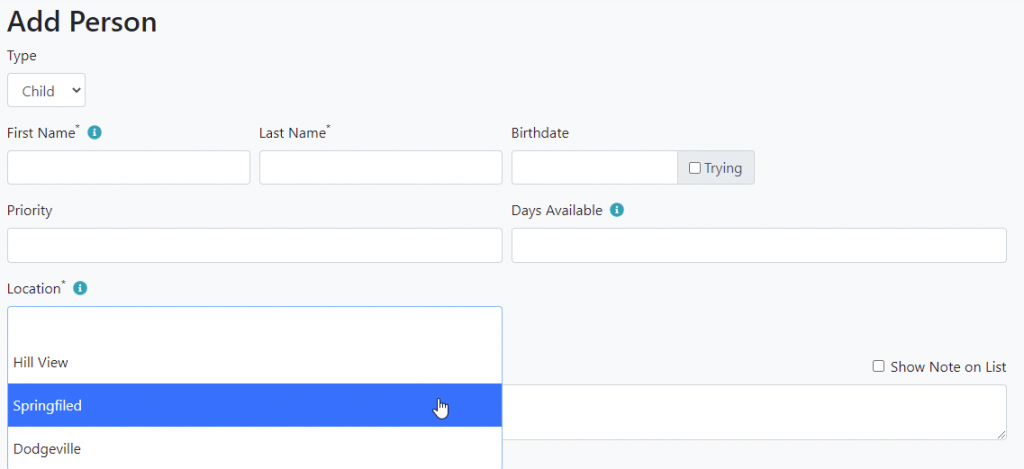
Once your new form field is created, it will appear on the Add Person form.
Step 3 – Filter your list
View your list by clicking on the list name in the top header.
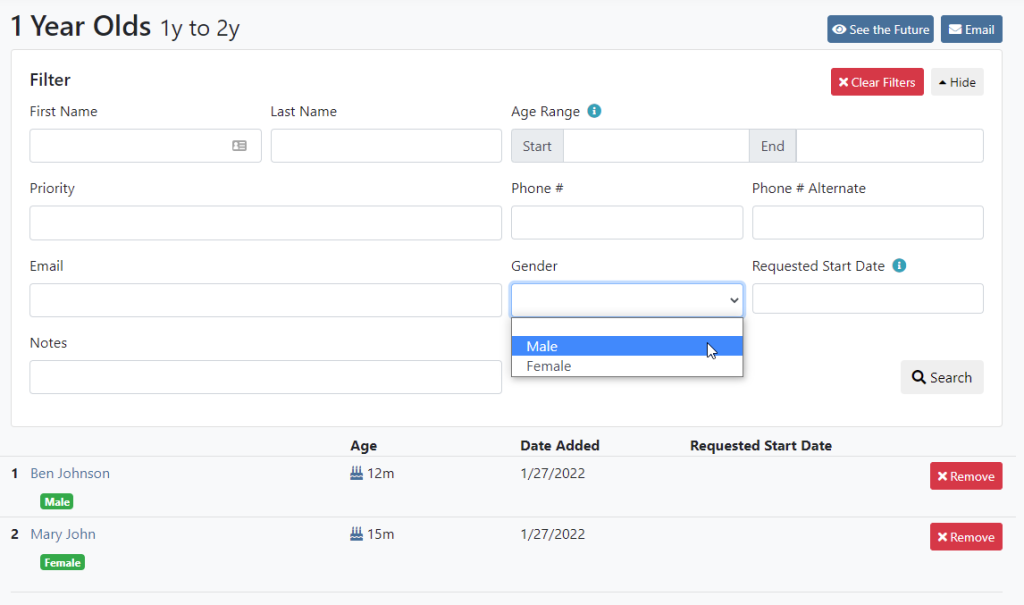
Click the Filter button near the top of the page
Select the field and value that you want to filter by, and click the Search button
If you need to update people on one or more of your lists you can send an email right from WaitlistPlus or you can get a comma separated list of emails and use your own email client to send them.
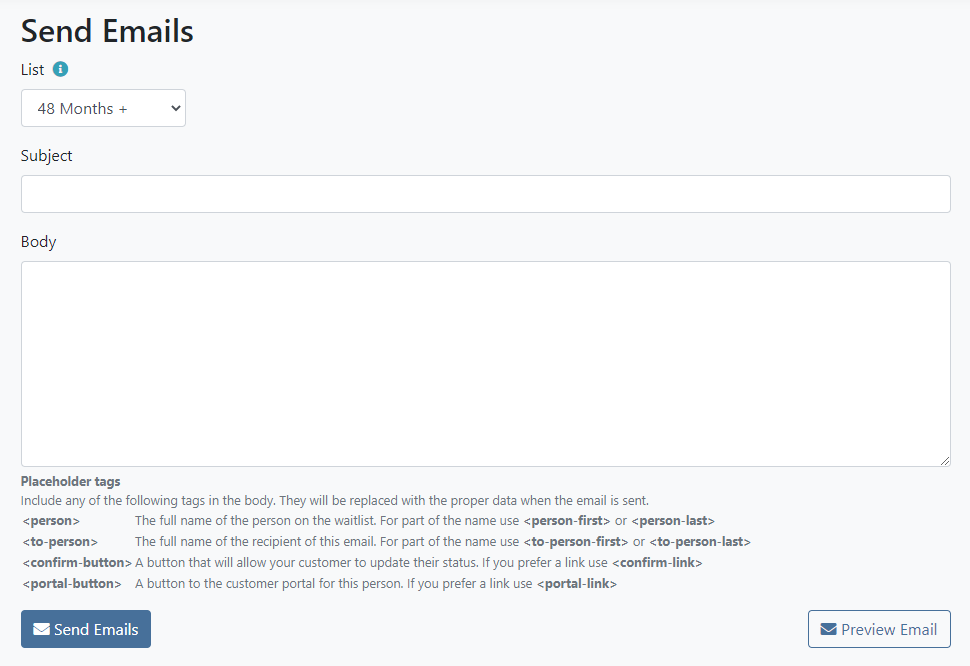
Send an Email
While viewing your list, Click on the Email button
Fill out the email Subject and Body
In the Body section, you can use placeholders to fill in details about the person on your list, or email recipient.
Click Send
If you want to send the email to all lists choose [All Lists] from the list dropdown
Get Email Addresses
On the home page click Export > Get Email Addresses
Once on the Email Addresses page, you can select which lists you want to include and what you want to separate them by. “Comma” is supported by most email clients.
Then click Get Emails. The result will be a long string of text which you can copy and then paste into the To line in your email client.
Three of my classrooms need to be based on age. The others need to be based on birthday with a September 1st cut off date like the public schools. Why won’t WaitlistPlus let me do this? How should I setup my lists for this situation
Answer
The reason why we don’t allow this is because you have people who could be on more than one list, or fall between the lists. For example.
Assumptions
Your lists
Toddler – Age 0-24 Months
PreK – Birthday 1/1/2018 – 1/1/2020
Today is 6/1/2020
The problem with this setup is that if today is 6/1/2020 and a person has a birthdate of 12/1/2019 (7 months old), they would fall under both lists. Since we automatically assign and move people for age/birthdate lists, we wouldn’t know which one to put them on.
If you consider the future and move today up to 6/1/2022, and have a person with a birthdate of 3/1/2020, they will not fall on any list. They will be 27 months old, and have a birthdate that falls outside the PreK range.
Possible Solution
Change the List Placement of your Birthdate lists to Manual. For reference, you can add the date range into the List name.
Create an extra age-based list with an age range that roughly fits the birthdays you had in your birthdate lists. This will be used as a“holding area” to put kids who need to be assigned to one of your Manual lists.
When you add a new person, you can choose one of the manual lists based on their birthdate. For the customer signup forms, just provide the “Link for auto placement lists (Age or Birthdate)”. When a customer signs up with an age within that rough birthdate range, they’ll be placed into the “holding area” list. You can review that list from time to time and move people from it to the appropriate manual list based on their birthdate.
We offer two subscription levels, a Basic and Premium level. For the feature breakdown of these levels, review our pricing page
Pricing tiers
The Basic level allows for up to 100 people actively on your list at one time. The Premium level pricing is based on the amount of people on your list. Below is a breakdown of all of the Premium pricing tiers available.
Number of People
Monthly Price
Yearly Price
500
$20
$200
1000
$30
$250
1500
$40
$400
2000
$50
$500
3000
$65
$650
4000
$80
$800
5000
$95
$950
5001+
Contact Us
Contact Us
All Prices in USD
How is number of people calculated?
Your usage will be calculated by looking at all of your lists and totaling the number of people on them.
This total does not include family members who are not directly on a list.
This total does not people who have been removed from one of your lists
How do I update my subscription to another tier?
Go to Settings > Site Settings > Subscription and click on the Edit button next to your current plan. There you can change your teir, and set your payment frequency (monthly or yearly)
Our quick overview video is the best way to learn about WaitlistPlus. After that we highly recommend signing up for a free 14 day trial to dive in and give it a full test drive. Sign up for 14 day trial (no credit card needed)
Many customers have multiple locations, and would like to setup WaitlistPlus to manage their lists at each location. There are two different ways of doing this. You can choose which way meets your needs.
Two separate accounts
When to use this method
If you want to separate the administration (access by your staff) of the lists between locations
If you want a cleaner separation between locations for customers
Setup
Go to Settings > Your Account > Sites. Click on “Create New Site” Follow the steps to complete site creation. Your existing user account will have access to this site as well, but you’ll have to grant other users access to the new site.
If you do not want the same user account to have access to both sites, go to the registration page and create a new user account and site for each location.
One account with a “Location” field
When to use this method
If your customers are likely to sign up for multiple locations
If you have a smaller number of customers on your list, and you want to save some money on subscription fees
Setup
Go to Settings > Site Settings > Form Fields. Click the “Add Field” button. For Type select “Dropdown – Select Multiple Options” and enter the list of locations that you have.
Once your new field is setup, It will appear on the form like this.
When reviewing your lists, you can filter on this new field to see only the people who are interested in a specific location.