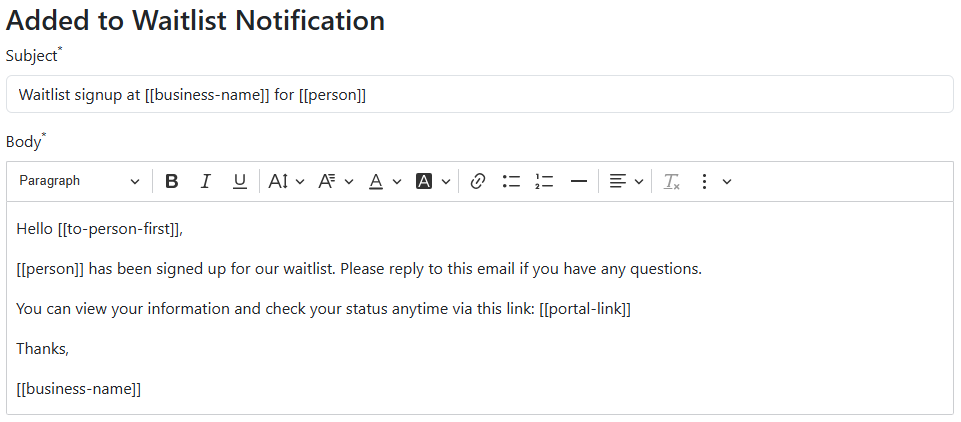
You can customize the content and style of your emails sent from WaitlistPlus. Whether sending an adhoc email to a person or list, or creating an email template for an automatic email, the Email Edit page allows you to modify the Subject and Body of the email that will be sent
Adding content from your site
Within the body of the email you can add placeholders that will be replaced with information about the people on your list. In the example above, the placeholder [[to-person-first]] will be replaced with the first name of the recipient of the email.
Placeholders
Below is a list of placeholders and an example output for an email sent to “Marry Poppins” about her daughter “Emma” who is on the waiting list.
| Placeholder | Description | Sample |
| [[person]] | The full name of the person on the waitlist | Emma Poppins |
| [[person-first]] | The first name of the person on the waitlist | Emma |
| [[person-last]] | The last name of the person on the waitlist | Poppins |
| [[to-person]] | The full name of the recipient of this email | Marry Poppins |
| [[to-person-first]] | The first name of the recipient of this email | Marry |
| [[to-person-last]] | The last name of the recipient of this email | Poppins |
| [[confirm-button]] | A button that will allow your customer to update their status | |
| [[confirm-link]] | A link that will allow your customer to update their status | |
| [[portal-button]] | A button to the customer portal for this person | |
| [[portal-link]] | A link to the customer portal for this person | |
| [[receipt-button]] | A button to the fee payment receipt for this person | |
| [[receipt-link]] | A link to the fee payment receipt for this person | |
| [[business-name]] | Your business name | Disney Inc. |
Custom Button Placeholder
If you have another url that you need to send your customers to and would like to add a styled button you can add a placeholder formatted as below.
[[custom-button|https://www.google.com|Google]]
This placeholder will create a button with the text of “Google” and when clicked will take you to https://www.google.com.
Just replace the url and button text with your own and add it to your email content. Make sure to separate the url and text with a pipe “|” character.
Change Colors
The color of your emails can be updated to match your brand colors. The colors that appear in the email are the same colors you have specified in the Customer Portal configuration. To change those colors, go to Settings > Site Settings > Customer Portal and change the Primary Color and Secondary Color options.